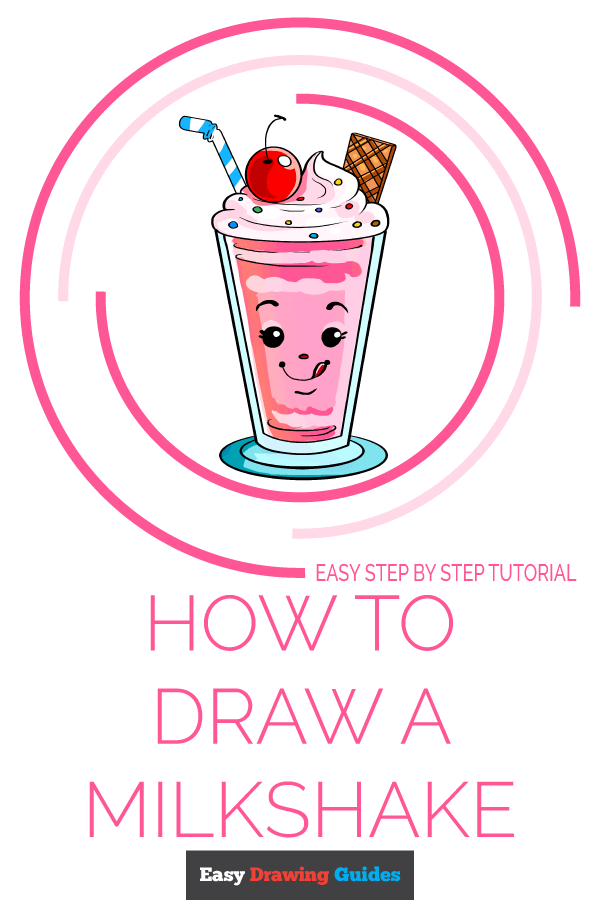
how to draw a milkshake

Click HERE to save the tutorial to Pinterest!
Milkshakes are dessert beverages made from ice cream and milk. The term "milkshake" was first used in 1885, and early milkshakes contained alcohol. Before the invention of the electric blender, milkshake ingredients had to be crushed and stirred by hand. The popularity of the milkshake increased as blenders and refrigerators became available in the early 1990s.
Notice that the milkshake in this drawing guide has a smiling face. When did people first begin drawing faces on food items? One example dates back centuries. The Irish legend of Stingy Jack told of a ghost who roamed the Earth holding a burning coal in a carved-out turnip to light the way. People would carve ghoulish faces in turnips, beets, or potatoes in hopes of scaring this ghost away. When Irish immigrants came to America, they used native pumpkins instead. This tradition of the Jack-o-lantern is still practiced today.
Today, many toys such as the Shopkins toy line, feature foods and other inanimate objects with cute faces. Millie Shake, Milly Shake, Melba Milkshake and Miki Milkshake are milkshake-themed Shopkins characters.
Scroll down for a downloadable PDF of this tutorial.
Would you like to draw a tasty milkshake? This easy, step-by-step food drawing tutorial is here to help. All you will need is a pencil, an eraser, and a sheet of paper. You may also wish to use crayons, markers, or colored pencils to "flavor" your milkshake.
If you liked this tutorial, see also the following drawing guides: Funny Taco, Cute Popsicle, and Burger.
Step-by-Step Instructions for Drawing a Milkshake

1. Begin by drawing a narrow, horizontal oval. This will form the top of the milkshake glass.

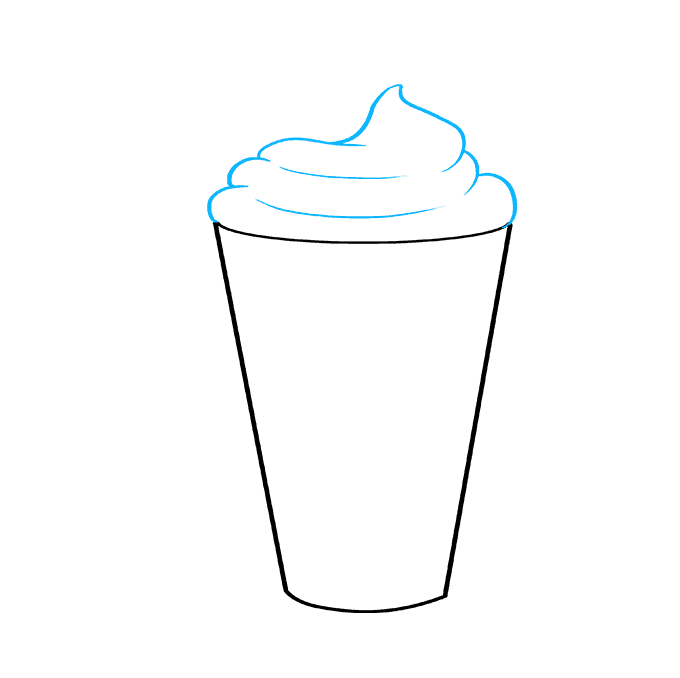
2. Draw convergent straight lines downward from the oval, forming the sides of the glass. Connect them at the bottom using a curved line.

3. Erase the top of the oval, making room for the whipped cream. Use overlapping curved lines to draw the layers of whipped cream, allowing the uppermost set to meet at a gentle point. Then, texture the whipped cream by drawing curved lines across it.

4. Draw lines along the sides and bottom of the glass, parallel to the outline. This represents the milkshake within the glass. Draw curved lines across it to texture the ice cream.

5. Draw a circle on top of the whipped cream, erasing guide lines as necessary. Shade a small circle at the top to indicate the base of the cherry's stem. Then, draw a curved line to represent the stem itself, culminating in a short line. Draw a small circle at the top of the cherry to make it appear shiny.

6. Enclose a rectangle emerging from the whipped cream. Draw a straight line along one side of it, then crosshatch it with perpendicular lines. This is a wafer cookie served with the milkshake.

7. Extend two parallel lines from the milkshake to represent the straw. Notice how the lines become wavy then continue in a different direction, indicating a bend in the straw.

8. Texture the milkshake and whipped cream with additional curved lines. Draw small circles to indicate the sprinkles. Then, draw a face on the front of the glass. Draw a circle within a circle for each eye, and shade between them. Use curved lines to draw the eyebrows, eyelashes, chin, and smiling mouth. Draw a small oval for the nose, and enclose the licking tongue using a curved line.

9. Draw two successively larger ovals around the bottom of the glass, giving it a fancy base.

What color will your milkshake be? You could have a white vanilla shake, a brown chocolate shake, or a pink strawberry shakes. Peach and orange shakes contain their namesake fruits!
Scroll down for a downloadable PDF of this tutorial.
Printable Drawing Tutorial
MEMBER TROUBLESHOOTING
Still seeing ads or not being able to download the PDF?
First, check that you're logged in. You can log in on the member login page.
If you're still not able to download the PDF, the likely solution is to reload the page.
You can do this by clicking the browser reload button.
It is a circular arrow-shaped icon at the top of the browser window, typically found in the upper-left side (you can also use keyboard shortcuts: Ctrl+R on PC and Command+R on Mac).
how to draw a milkshake
Source: https://easydrawingguides.com/how-to-draw-a-milkshake/
Posted by: blacktheressuard.blogspot.com

0 Response to "how to draw a milkshake"
Post a Comment